



The Ultimate Guide to Himalayan Photography: Tips, Locations & Seasons
 Nepal Vision Treks
 Oct 11, 2025
 15 Min Read
Have you ever seen a picture of the Himalayas and said, “Wow, that is not real. It is just that sort of magic these mountains possess. It doesn't matter whether you are using a high-end camera or your phone; you shouldn't go out chasing perfect shots, but rather capture the moments that will make you feel small, alive, and connected with nature as much as possible.
The hourly change of colour, the toying of the wind with colours, the apparent speaking silence of a place all up here. Glorious sunrise peaks blazing with gold, prayer flags waving in the mountain passes, every nook holds a tale to be told. You will not see the Himalayas; you touch them.
And it is what makes this journey extraordinary. On the other side of the mountains, you will have culture, friendliness, and time that will redefine your perspective of the world.
When you are willing to find out how to get that magic, how to shoot, what equipment to use, when to shoot, and what mountain scenes to shoot, then continue to read. The Himalayas are bidding your lens.
What Gear Do You Need to Photograph the Himalayas?
Everything is preparation when trying to get the Himalayas on camera. The conditions may be harsh, unpredictable, and challenging; therefore, your equipment must be able to withstand cold weather, wind, dust, and even high altitudes.

Essential Camera Gear
- Camera: A DSLR or mirrorless camera is more durable, controllable, and produces high-quality images. Select one that is good in low light.
- Lenses:
Wide-angle lens to capture panoramic shots.
A long lens of the far mountains or of the wild beasts.
The lens is the best for portraits and cultural photography.
- Tripod: The tripod is required during low-light photography, sunrise, and night photography.
- Filters: A polarizing filter can be used to enhance skies and reduce glare, while a neutral density (ND) filter can be used to create motion effects in clouds or waterfalls.
- Batteries and Memory Cards: A cold environment can quickly drain batteries, so take any spare ones with you and warm them in your jacket.
Protecting Your Equipment
- Himalaya is merciless to delicate gears.
- Fit weather-proof cameras and lenses.
- Keep your equipment in a padded and waterproof pack.
- Do not change lenses when in dusty or windy weather.
- Have a lens cleaning kit and microfiber cloths.
Travel light but smart. All the things you carry in your bag must have a reason and be able to survive the journey.

Where Are the Best Locations to Capture the Himalayas?
Nepal is a country with some of the most stunning landscapes. The Himalayas present a distinct image in each of these regions, offering both spectacular mountain scenery and unique cultural experiences.
Top Photography Destinations
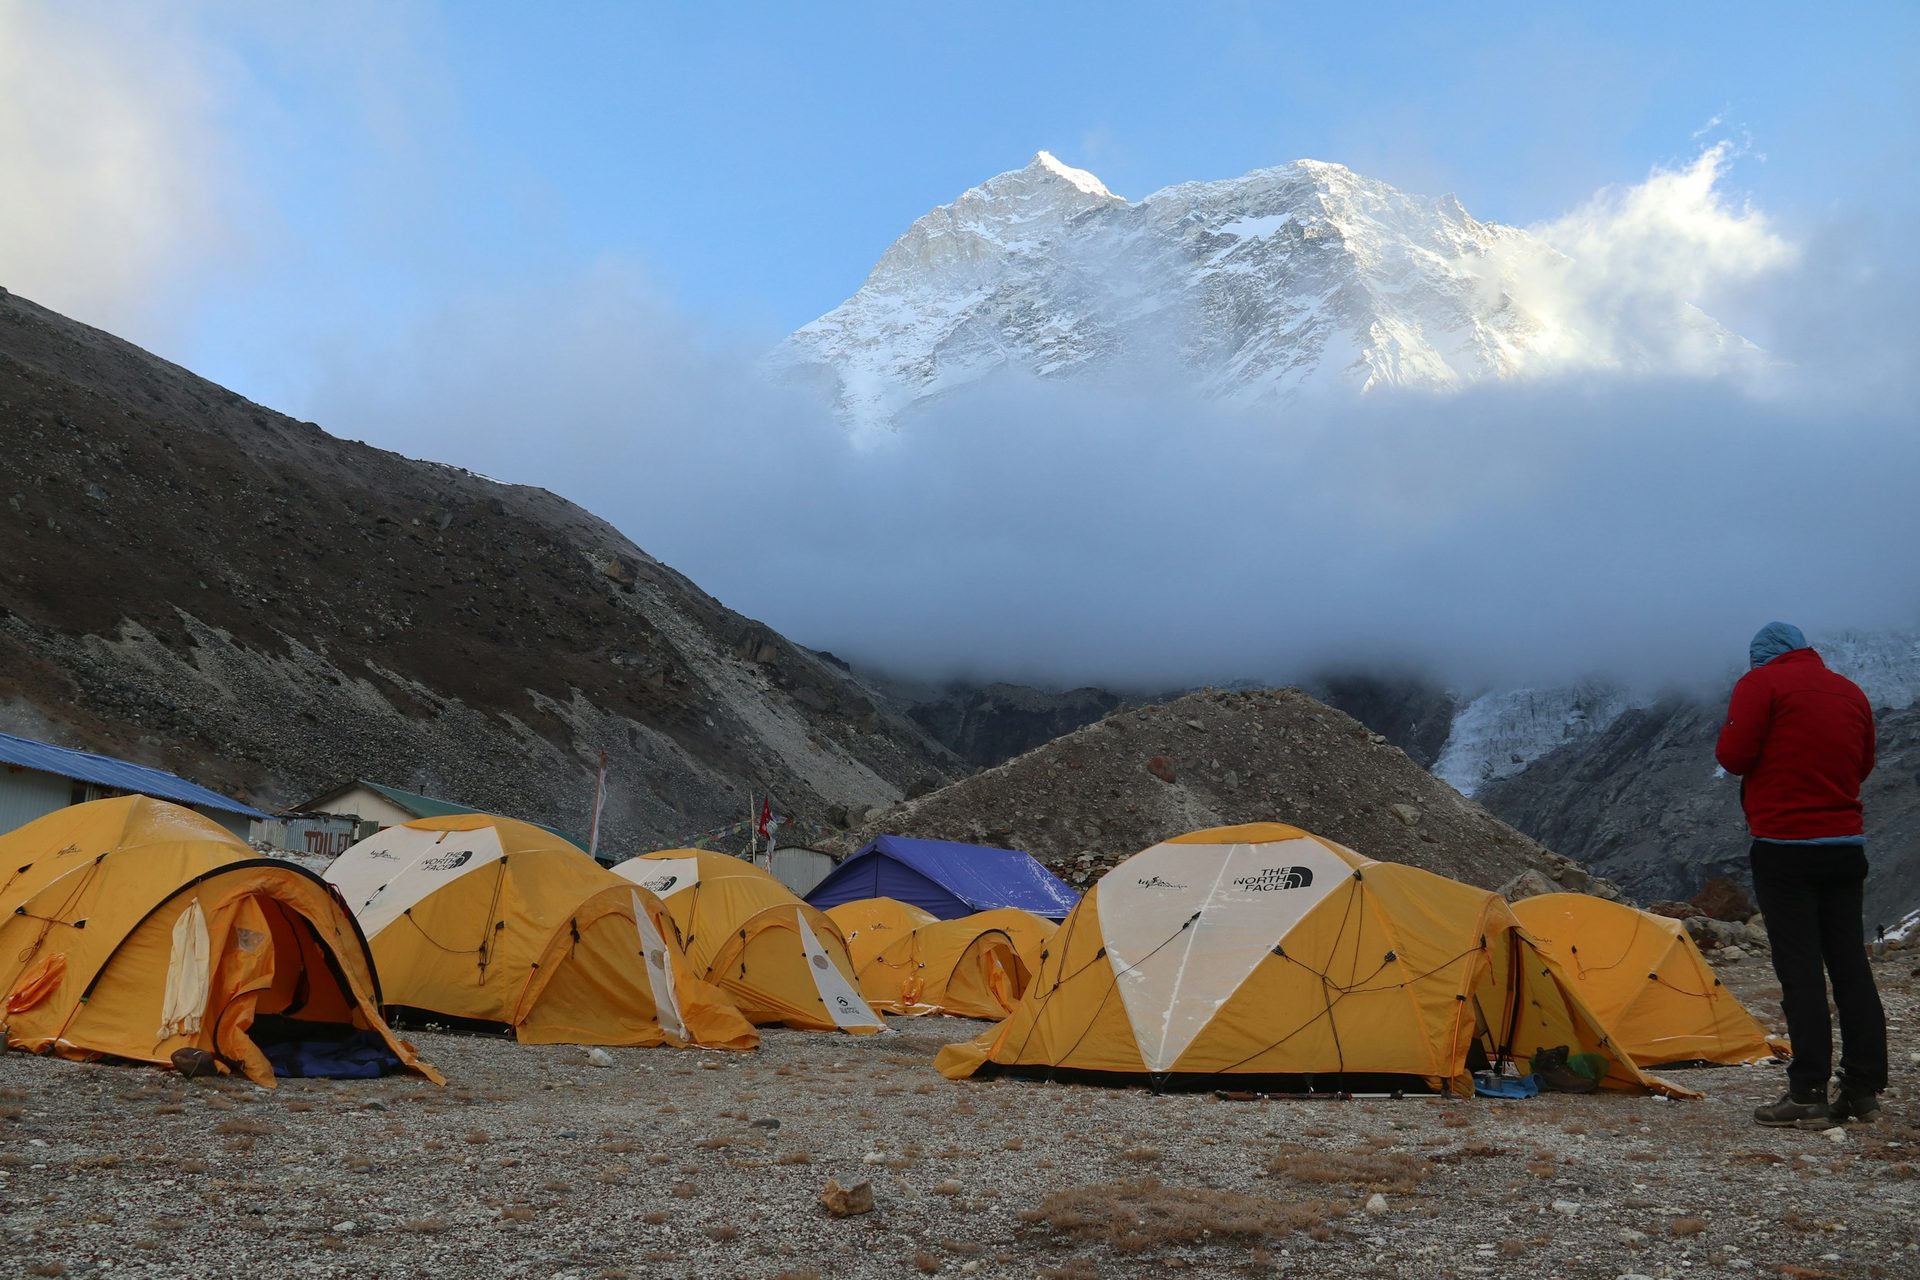
- Everest Base Camp Trek: This will feature classic Mount Everest, Ama Dablam, and the Khumbu Glacier.
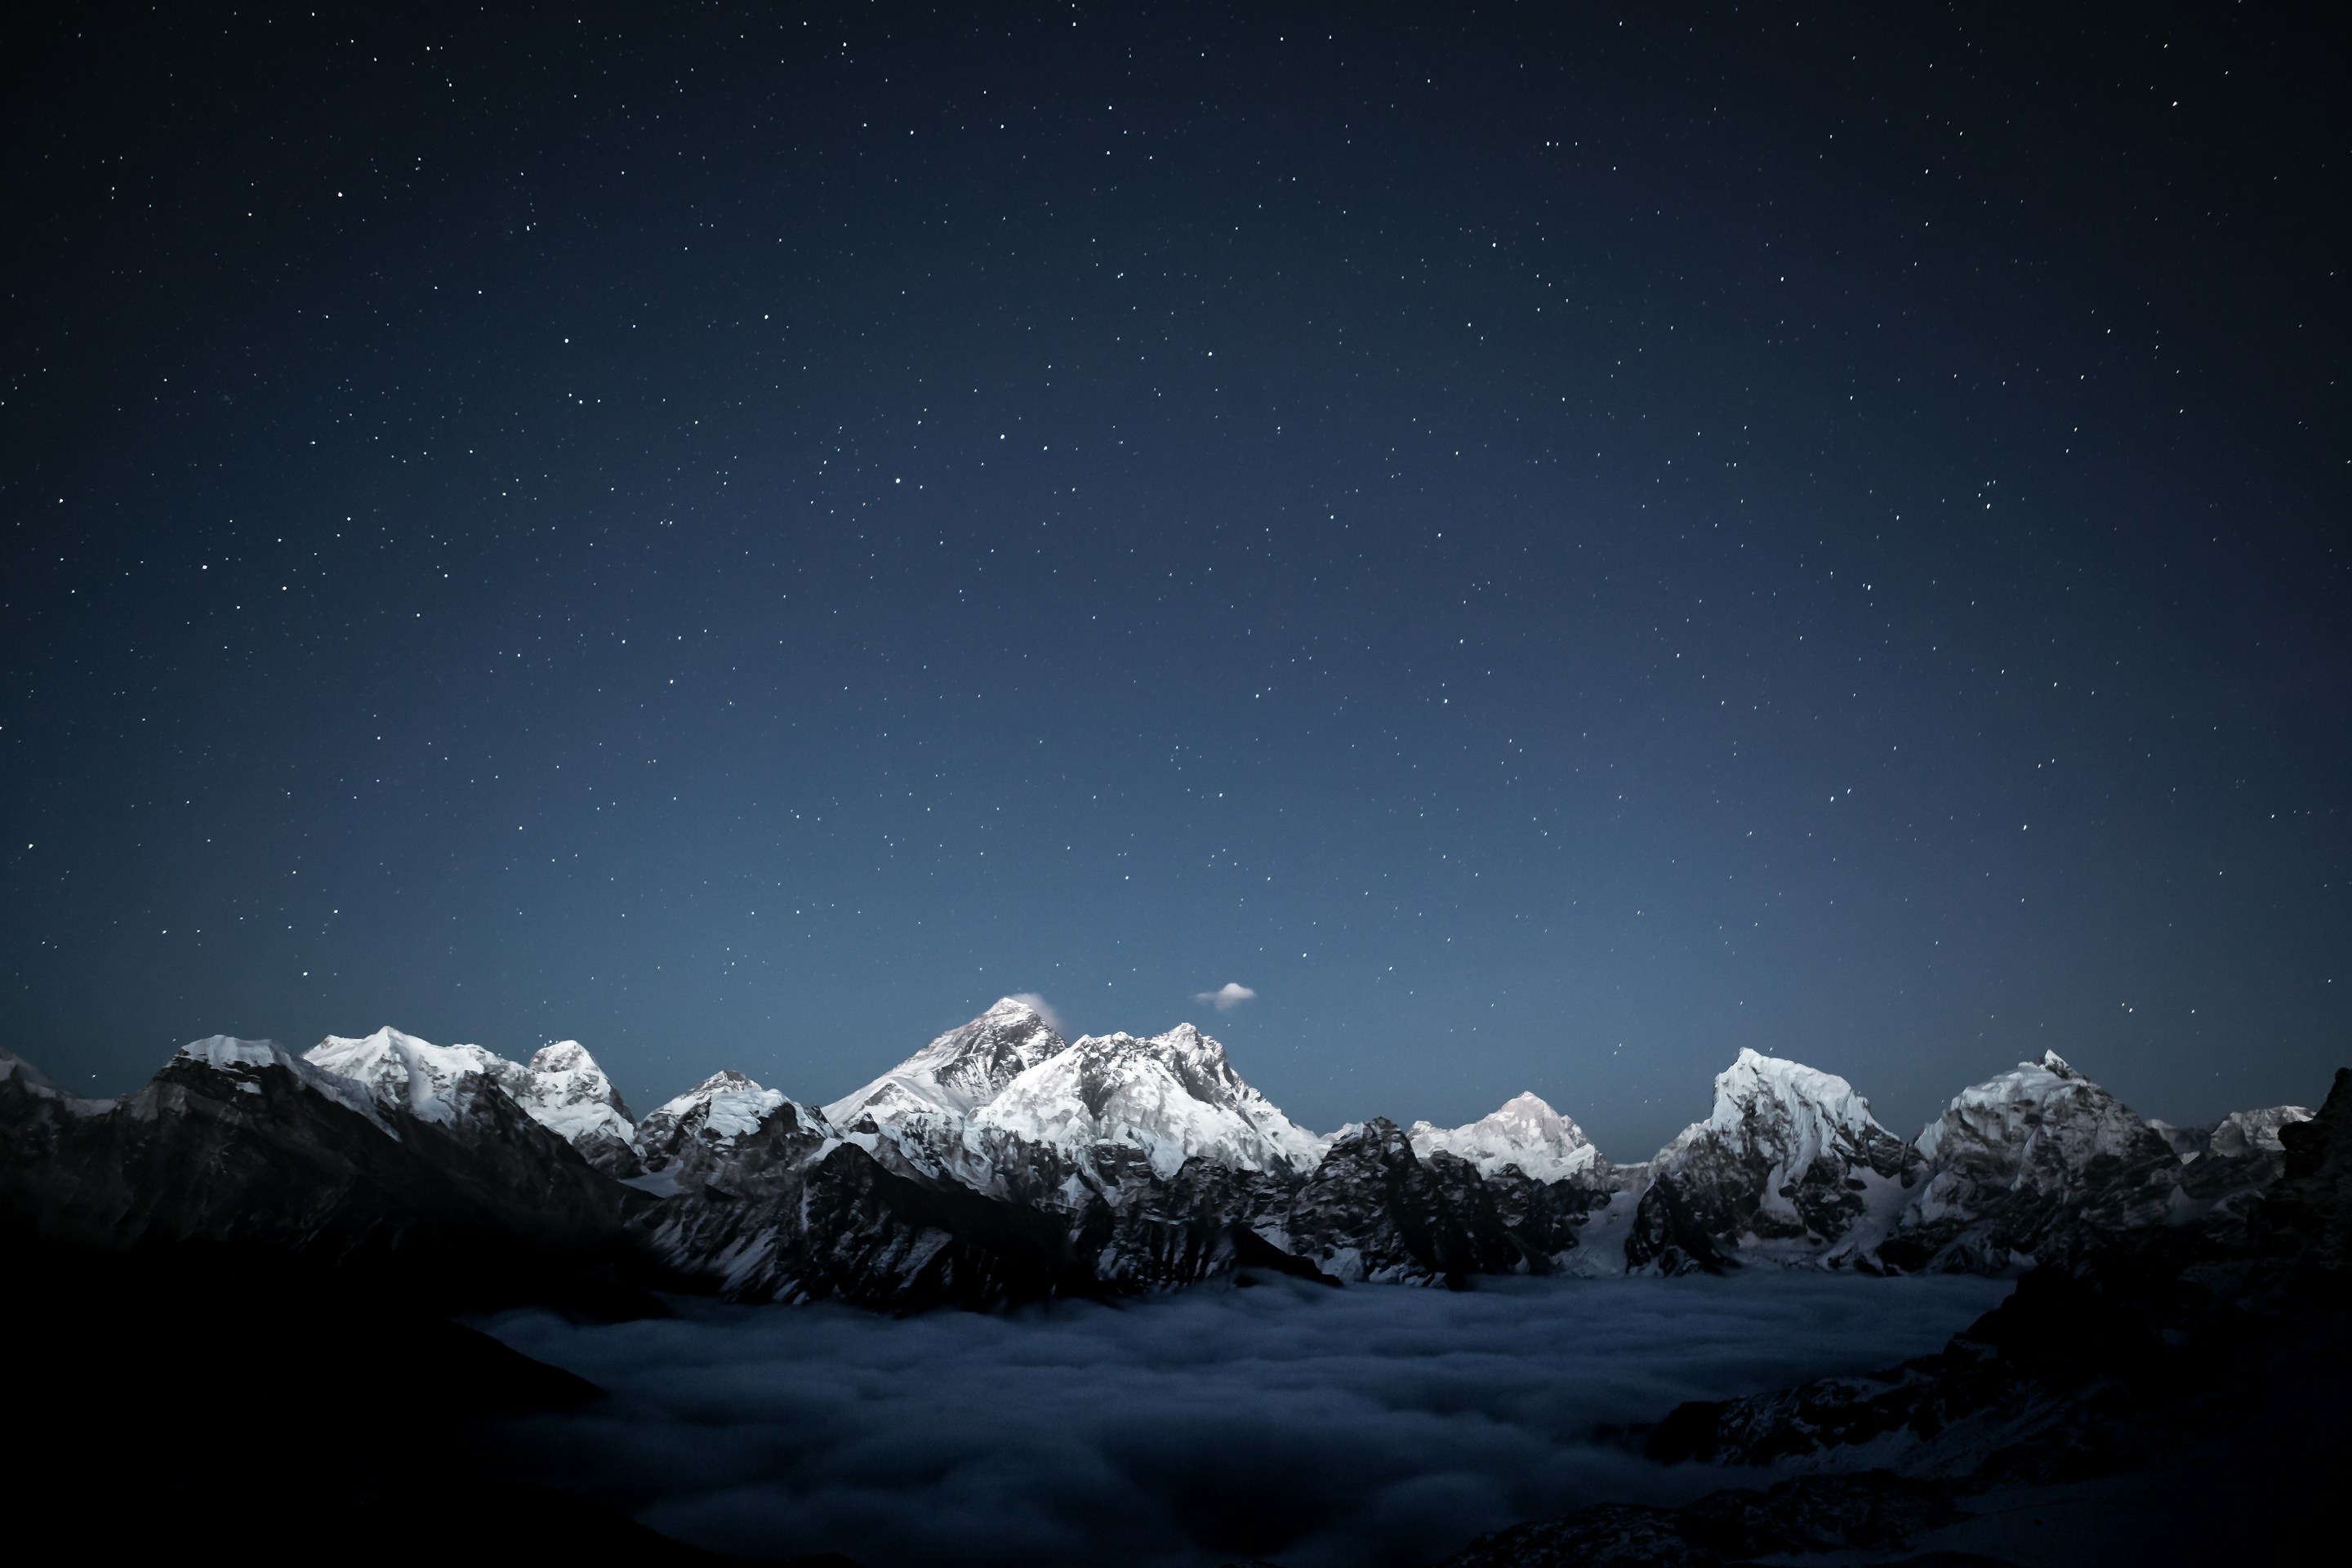
- Gokyo Ri offers panoramic views of Everest, Lhotse, and Cho Oyu above the turquoise Gokyo Lakes.
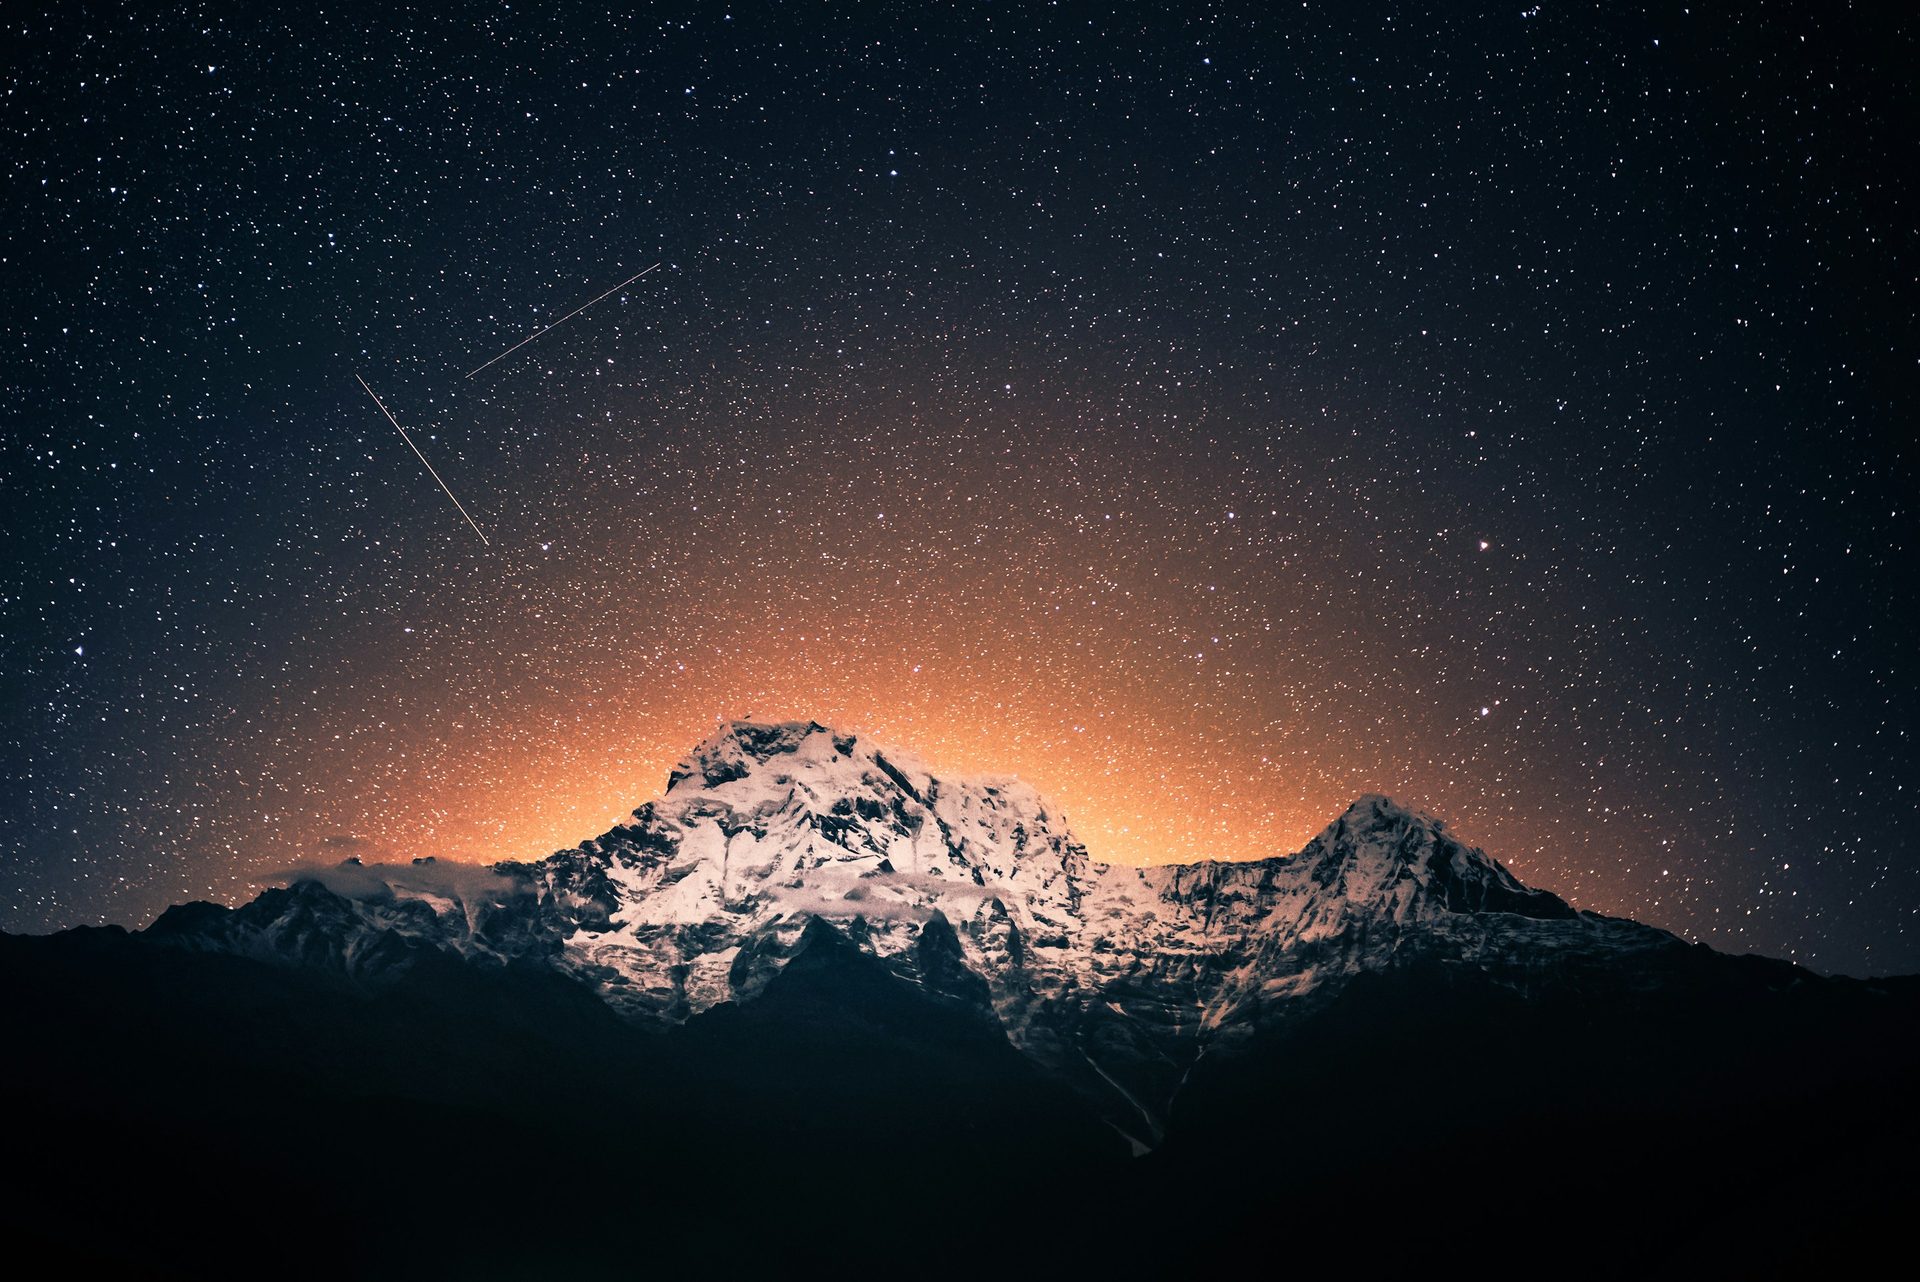
- Annapurna Base Camp: This natural amphitheater is encircled by high mountain peaks, making it perfect for capturing a stunning sunrise view.
- Poon Hill: This location is easily accessible and offers a golden-hour view of the Dhaulagiri and Annapurna ranges.
- Langtang Valley: An amalgamation of convenient hiking, ancient Tamang settlements, and magnificent scenery.
- Nagarkot: Located near Kathmandu, Nagarkot offers a perfect view of the Himalayas at sunrise with minimal hiking required.
If you prefer to be less active, consider exploring lesser-known trails and remote villages. The shots made early in the morning and in unusual places tend to provide the most unique and interesting ones.
When is the Best Time to Photograph the Himalayas?
The quality of your images is determined by timing. The same mountain can be completely different depending on the changing season, time of day, and weather conditions.
Spring (March to May): Beauty and Light Bloom.
The Himalayas are a colourful place in spring. The rhododendrons bloom on the hills, creating great contrasts with the snow-capped peaks. The atmosphere is fresh, mornings are usually clear, and the warm yellow light of the sunrise and sunset gives a warm touch to your photos. The spring is ideal when one seeks colorful, vibrant pieces with the mountain views, with the lively nature coming out.
Autumn (September-November): Brisk Skies and Brash Scenery.
Himalayan photography is generally considered the best in autumn. The air is clear, visibility is good, and the mountains are sharp and well-defined against deep blue skies. The lightning is even, the colors are captivating, and the air is serene, which is perfect when making panoramic shots, landscape shots, and shots of mountains, as well as cultural scenes. The month of October is particularly ideal for achieving a balance of clarity and stability, as well as bright colors.
Winter (December to February): Snowy Peaks and Serene Solitude.
During winter, the Himalayas become a serene and clear place. The way is less busy, the mountains are covered with snow, and the diffused and simple light makes it an ideal subject for minimalist and reflective photographs. The cold weather is a challenge, but the season provides photographers with pristine and untroubled views of the Himalayas and opportunities to capture them alone.
Monsoon (June to August): Theatrics and Green Nature.
The monsoon season is not a trekking season, but a photographer can capture dramatic and moody shots during that time. The valleys become emerald green, clouds fly through mountain ridges, and the mist gives a spooky touch to your photos. Although distant mountains may not be visible, this is the best time for creative photography, particularly of cultural landscapes, reflections, and close-up village shots.

The Himalayan Photography: How To Set Your Camera?
In high-altitude photography, technical accuracy is crucial. The Himalayas offer a striking contrast in terms of light and shadow, and hence, the settings play a significant role.
Recommended Settings:
- Aperture: f/8–f/11 to capture sharp and vast landscapes.
- ISO: 100–400 to minimize noise.
- Shutter Speed: Quick when holding the camera, slow when utilizing a tripod.
- Focus: Manual focus with distant peals.
- File Format: It is always best to shoot in RAW to enable one to have flexibility in post-processing.
Adjust your settings as the day comes to a close. The first times of the morning and the evening usually give the best tones and contrasts.
How to Tell a Story Through Himalayan Photography?
In the Himalayas, photography is not only about beautiful scenery, but it is also about capturing the life spirit that thrives there. The mountains have centuries-old traditions, incredibly spiritual people, and human survival experiences that are worth observing and never forgetting. The most incredible pictures do not just exist out of the beauty, but they tell the story of nature, culture, and survival in a single shot.
Deliver a great story with your photos, concentrating on the human and cultural aspects of the Himalayas that make them what they are. An image of a monk spinning prayer wheels, a village working in terraced fields, or a trekker on a suspension bridge can tell a lot about life in the highlands. Kidnap local festivals, mute monastery courtyards, or kids playing under prayer flags fluttering in the wind to demonstrate the comfort and humanness of the rocky landscape.
Light is also a characteristic aspect of the story's telling. The gray light of daybreak, or the yellow color of nightfall, or the dark blues of sunset, may change the feeling of your scene. The patient, waiting for that brief instant —a smile, a puff of wind, a shadow in still water —usually leaves one with photographs that seem to breathe and are never quite caught off guard.
Himalayan photography is powerful due to its authenticity. Do not be in a hurry to press; look. Allow your camera to follow your interest, and let your subjects be themselves. Whenever your pictures portray real action and not acting, you are not only making pictures, but also creating a long-term story that resonates with the spirit of the Himalayas.
Pro Tips for Himalayan Photography
- Keep the batteries warm and have extras on hand.
- Apply rain and dust covers.
- Wipe out the lenses with a microfiber cloth.
- Always pack lightly so you can move around the trail easily.
- Move aside to get that distance view, sometimes it is not always on the other side of the lens.
Such minor tricks can make a significant contribution to your photography and the whole experience in the sphere.
Seasonal Considerations for Himalayan Photography
The Himalayas change their visual mood with each season:
- Spring: Fresh walks, flowers, and soft light.
- Autumn: Clear and sharp colours, with the best conditions for trekking.
- Winter: White mountains, loneliness, and low-key.
- Monsoon: Creative shots in dramatic skies and green landscapes.
Learning about these seasonal moods will help you organize a trip that aligns with your creative vision.
To wrap up, the Himalayas are not about photography, as that is just a physical endeavor. It is a journey of patience, time, and perception. These mountains make you slow down and observe the small things that one overlooks. With the correct equipment, planning, and attitude, each photograph can be an expression of the beauty of nature as well as your own experience within it.
Nepal Vision Treks can help you plan your Himalayan photography trip and turn it into a series of timeless stories.
FAQs
What is the best camera for photographing the Himalayas?
Can I use a smartphone to photograph the Himalayas?
Which lenses should I carry for Himalayan photography?
What is the best season to photograph the Himalayas?
Do I need a tripod for Himalayan photography?
How can I protect my camera from harsh Himalayan weather?
Are drones allowed for photography in Nepal?
How do I capture the culture along with landscapes?
What camera settings work best for Himalayan landscapes?